Smart Hub Connection Test: Ensure Your Devices Stay Connected
We’ve all been there, streaming our favorite show only to be blind-sided by a sudden loss of connection. The agonizing silence, the endless buffering, and let’s not forget the desperate pleading with our smart hub. It’s time we put an end to this chaos with a simple smart hub connection test. In this guide, we’ll explore everything you need to know, and maybe even chuckle at our previous technical mishaps. Get ready to reclaim your connectivity.
Understanding Smart Hubs
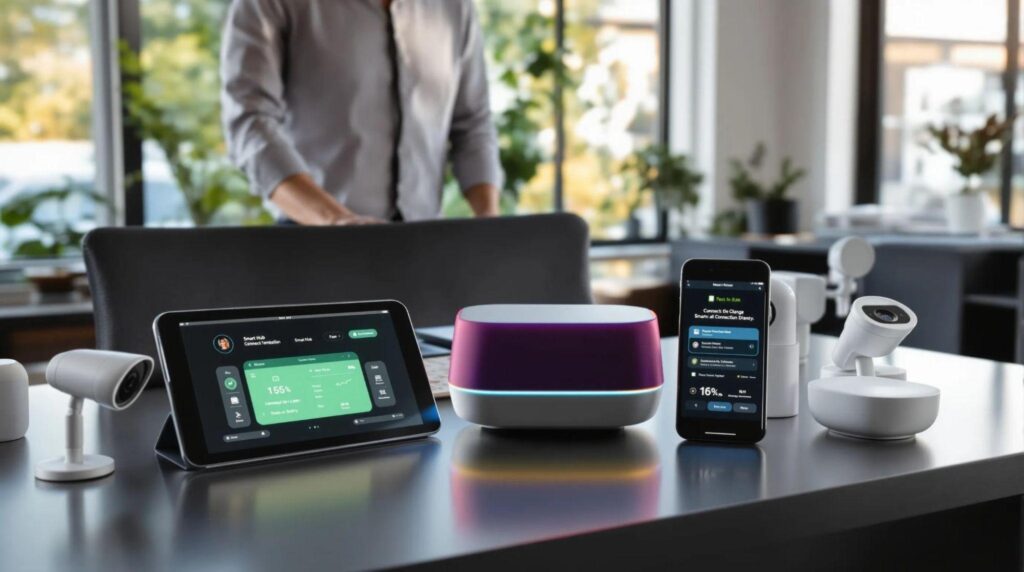
Smart hubs act as the central brain of our connected devices. They help communication between various gadgets from different brands, allowing us to create an integrated smart home ecosystem. Picture it, a command center where we can control lighting, security cameras, thermostats, and more, all from our smartphones. Popular smart hubs include options like Amazon Echo, Google Nest Hub, and Samsung SmartThings. But, understanding these devices is more than just knowing what they can do: it’s about knowing how they work and how to keep them running smoothly.
Importance of Connection Testing
We often take our home networks for granted until they fail us. That’s where connection testing comes into play. Regularly testing our smart hubs ensures that everything operates as it should. It identifies weak signals, device mismatches, and other issues that can disrupt the harmony of our smart home. Think of it as a routine health check-up for our technology, keeping our devices fit and functional.
Preparing for Your Connection Test
Before diving into the connection test, we should prepare adequately. First, ensure that all our devices are plugged in and powered on. It may sound basic, but sometimes the simplest things trip us up. Next, gather our tools, this might include our smartphone or tablet, the hub’s app, and possibly a laptop. Checking our internet speed through a speed test can help us understand if it’s an issue with the service provider or our devices. Finally, ensure that our smart hub is updated with the latest firmware: updates can fix bugs and improve performance.
Executing the Connection Test
Now it’s showtime. Launch the app associated with our smart hub. Look for the connectivity or diagnostics section: most hubs have a built-in tool to test connections. Follow prompts to test each device linked to the hub. As the testing unfolds, we can see which devices respond properly and which either lag or fail entirely. Make a note of any devices that struggle to connect. This data will be invaluable for our troubleshooting session.
Troubleshooting Connection Issues
If our testing reveals connection issues, don’t panic. The first step is to power cycle our smart hub and affected devices. Unplug them, wait about 30 seconds, then plug them back in. Often, this simple solution can resolve myriad connection problems. If that doesn’t work, we may need to check our router’s placement. Is it tucked away in a corner? Consider relocating it for better coverage. Checking for interference from walls or other electronics is also essential. We should refer to the manufacturer’s guidelines as they often provide troubleshooting tips specific to our hub.
Best Practices for Maintaining a Strong Connection
To keep our smart hub operating efficiently, everyday habits matter. Regularly check for firmware updates and install them promptly. Keep our devices within a reasonable distance from the hub, ideally, within a 30-foot radius, though this can vary by device. Utilizing a mesh network can enhance our Wi-Fi coverage if we have a larger space. Finally, clearing out unused devices from our smart hub can boost overall performance. If a device isn’t needed, why let it hog our bandwidth?